Showing posts with label Favorite Love Stories. Show all posts

Monday, February 6, 2012

Crafting through my Favorite Love Stories: Casablanca

This is my second love story in my Valentine's inspired series of Crafting Through My Favorite Love Stories.

If you have somehow made it thus far in your life without indulging in the cinematic greatness that is Casablanca, then I highly highly highly recommend that you watch it as soon as humanly possible. I'm being dramatic . . . but it's that good. It's as epic and romantic and amazing as it's always said to be . . . totally totally lives up to it's hype. So, of course, it's made my list of favorite loves stories.

If you aren't familiar or need a little refresher I found this trailer:

I love so much about this story, the characters are so vivid, the dilemma so sincere. It's not just a love story about Rick and Ilsa, or Ilsa & Victor, it's so much more. It's not a love triangle with a villain, it's a story different kinds of love wrapped up in unfortunate circumstances and set to the backdrop of World War. My husband even loves it! It's a romance movie for someone who doesn't like romance! An old movie for someone who doesn't like old movies! Truly, truly timeless!

So, just about every other line in this movie has become a memorable quote or icon. My favorite is of course:

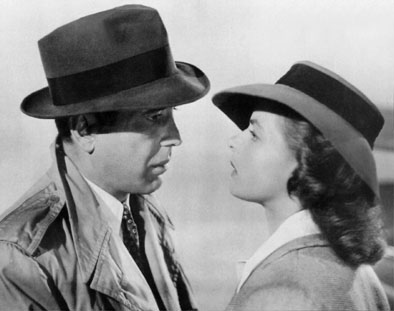
. . . it has total swoon factor.

And that line is the inspiration for the Casablanca-inspired craft project.
"Here's Looking At You, Kid" Glass Etched Mug
Supplies:
Glass mug (got mine at the dollar store!)
Glass Etching Cream
Gloves
Paint brush
Contact Paper
Cricut

If you haven't glass etched yet, it is so easy, once you try it you'll want to do it to everything! You can do this to most anything, but I thought sipping your morning coffee with this sweet epic line would be like toasting love! Hooray!

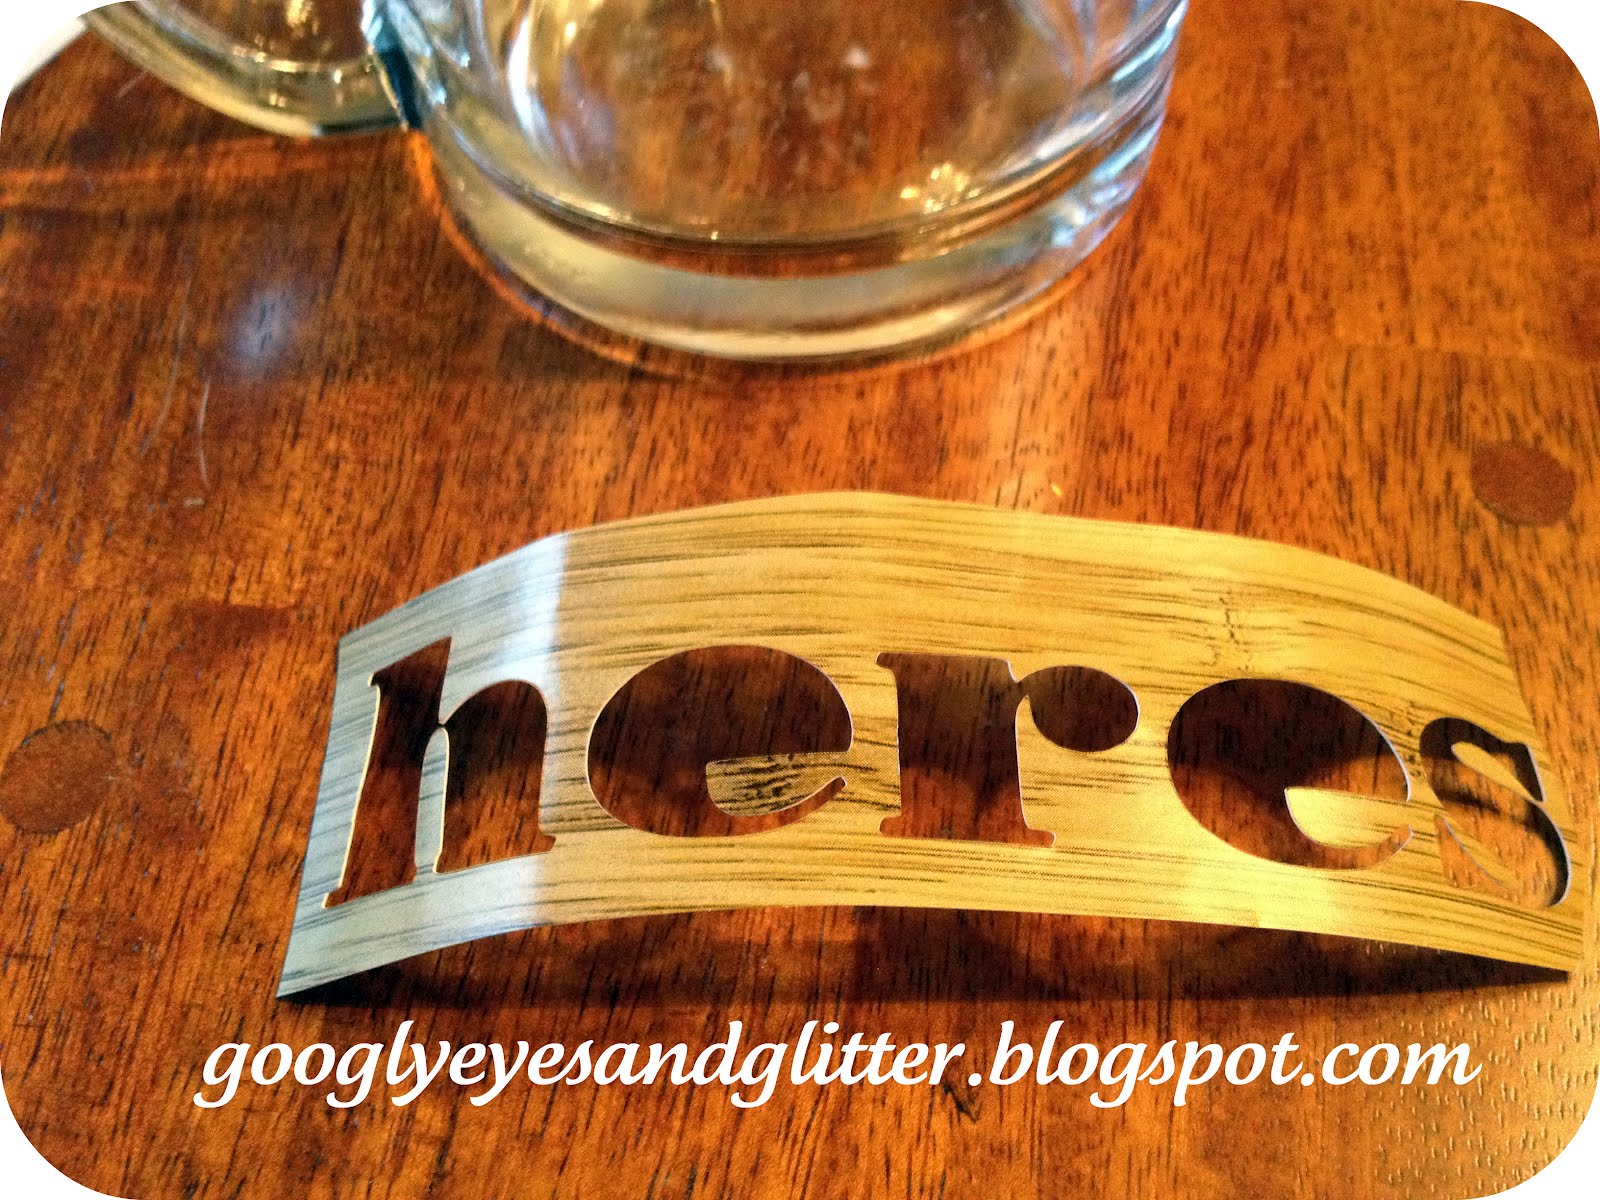
Using a cricut or other die-cutting machine cut out your letters from the contact paper. Once your letters are cut, you carefully remove them in word groups (I used an Xacto knife to cut out each word before lifting it off the cricut pad).
Then place the words and add any hole pieces (i.e. for O's , A's, or E's). Then you fill in any gaps with scraps of the contact paper so that you don't get the etching cream on unintended portions of the glass. Then apply, wait and rinse off the cream in accordance with the directions on the bottle. I got a little impatient and didn't wait the full 5 minutes :) haha so that's why my etching looks a little uneven. And then you're done! Easy right??

I'm linking up with Skip to My Lou, Today's Creative Blog, Schwinn & Schwinn

Thursday, February 2, 2012

Crafting through My Favorite Love Stories: Helga & Arnold

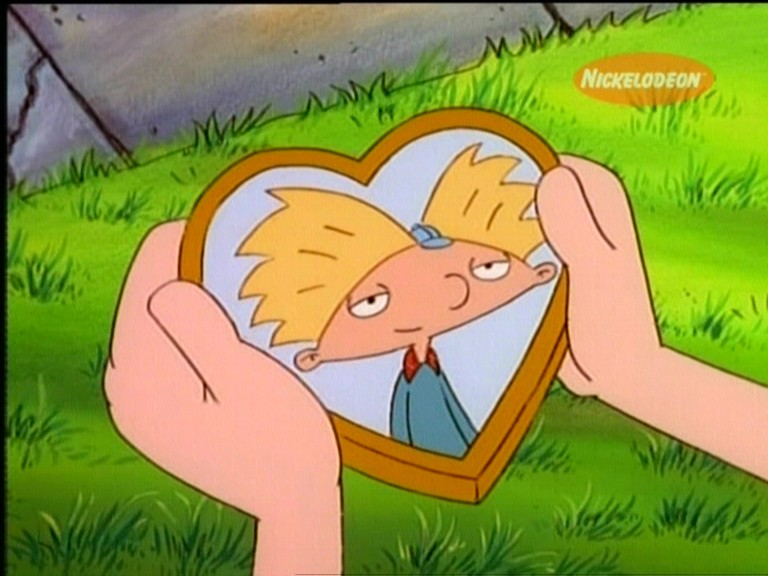
In honor of Valentine's Day, I decided to revisit my favorite love stories with a creative perspective. Today's story:

Helga & Arnold

If you are not a 90s Nickelodeon child as myself, I can fill you in. Helga was a super poetic-artistic-brainiac and a little nutty girl (but all in secret) with a CRAZY rough, tough big bully and just plain mean exterior :)
She was hilarious, I loved her! She was head over heels in love with the shows title character, Arnold.
I love this story because it really reminds me of the passionate way having an unrequited crush felt during adolescence only exaggerated like 400xs! Oh the drama!

The Projects:
1.Of course, we had to do a Valentine Block. I have to admit, my nerdy husband and I were way too proud of ourselves when we came up with the idea for this block:
All you need is a scrap piece of 2x4, an alphabet stencil and some craft paint!!
2. A Pin/brooch inspired by Helga's secret heart shaped locket.
I made this using polymer clay, liquid polymer clay, regular printer with matte photo paper, 2 eyepins and a pin back.
To transfer the image you print it on the matte photo paper (seems to work 900xs better than plain printer paper). Then you paint a very thick coating of the liquid sculpey on it and bake according to directions.
While that's baking you can make your "ribbon" topper. I just ran some white clay through my pasta machine and cut a long skinny strip (probably 0.5" x 6") Then using a knife I cut the cute ends and then folded it up like a banner. I impressed the word "love" with the back of a paint brush. I also built up the gap in the back with a little ball of clay.
When the transfer image is done baking you rinse and/or soak it and scrub of the paper (the image stays behind on a fairly translucent and pliable sheet).

Then you place your translucent sheet on top of a heart shaped solid piece of clay and build up the edges with small "snakes" of clay (to be the frame). Before baking I filled in some gaps with the liquid polymer clay as well as used it to glue on the pin back and eye pins.

Once done baking I spray painted the banner and the locket (you'll need to cover your image first). This could be avoided by using colors and metallic clay, but I had white so . . . :)

Then you're finished!! Now, I know Miss Helga wouldn't ever just wear her heart on her sleeve (or chest) like this, but I think it's a fun and festive tribute to romance!! And it's the time of year for that, right?!
Pin It

Want more Helga and Arnold? Hop over and see this cute little montage video someone had made on youtube :)

Stay tuned for another great love story coupled with a cute Valentine-y craft project!!

LinkWithin

Related Posts Plugin for WordPress, Blogger...